How to Invite Users to the Platform
(Applicable users: admins)
Overview
There are two ways to add new users to the platform:
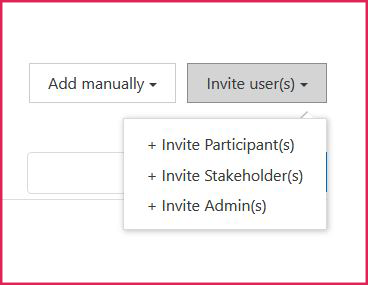
- Add manually
- Invite user(s)
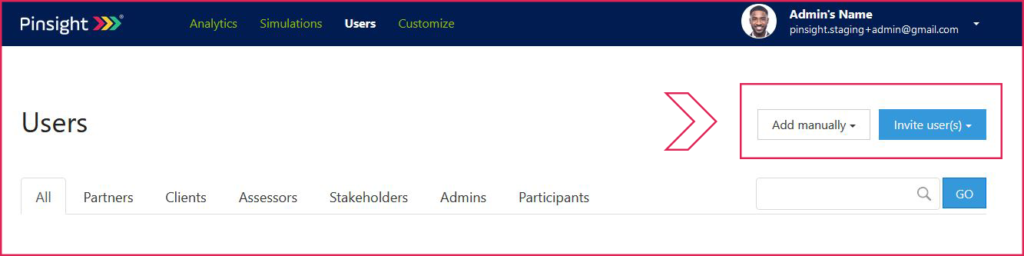
The table below explains the differences between the two invitation methods.
| Method | What It Does |
|---|---|
| Add manually | What’s it for? – Inviting users or creating partner/client accounts one-by-one. Implications – You must fill out the user’s required profile information. This profile information can be edited by the account holder later. If inviting a participant this way, you will select the assessment and language now. You have the choice of selecting a time for the participant’s assessment now or allowing the participant to select a time on their own. User-types that can be invited with this method: Participants, stakeholders, assessors, admins, partners, clients (this differs depending on your permissions) What happens next? – The user will receive an automated email with a link to access the platform and set up their password. The link expires after a time and can be reset by an admin from the user’s profile. |
| Invite user(s) | What’s it for? – Inviting users in bulk or individually using just email addresses. Implications – All users invited this way fill out their own profiles. They must share the same partner/client combination, tags, and, if they’re participants, assessment and language invitation. You cannot select a time for the participant with this method; the participant schedules their own time the first time they access the platform. User-types that can be invited with this method: Participants, stakeholders, admins (this differs depending on your permissions) What happens next? – The user will receive an automated email with a link to access the platform and set up their password. The link expires after a time and can be reset by an admin from the user’s profile. |
How to invite users
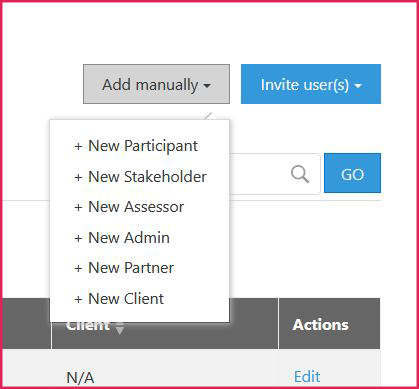
I. Invitation method: Add manually
- Select the user-type from the drop-down.
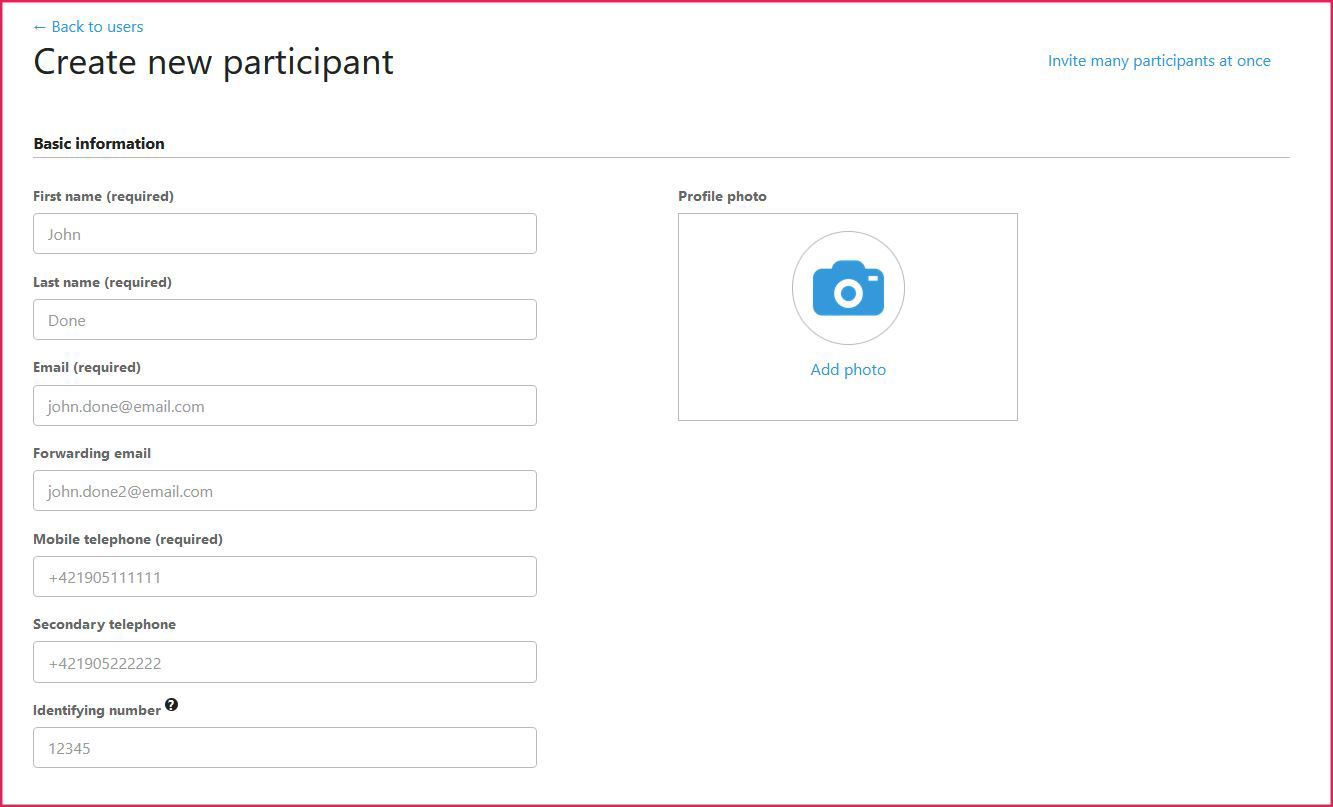
- Fill out the user’s required profile information. This can be edited by the account holder later.
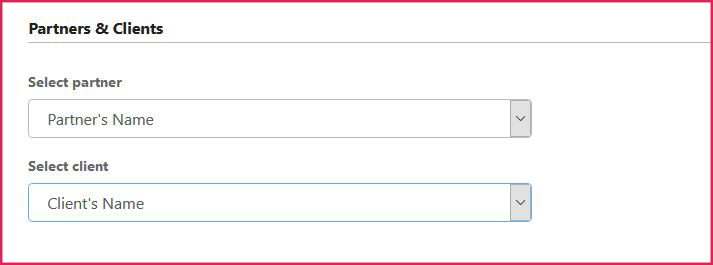
- Select the partner/client combination from the drop-downs if available.
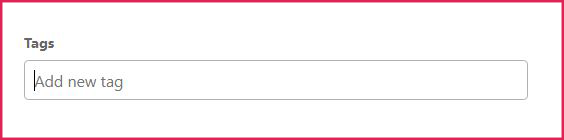
- Add tags (optional; participant’s only).
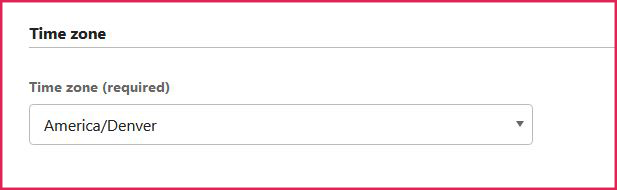
- Select the user’s time zone.
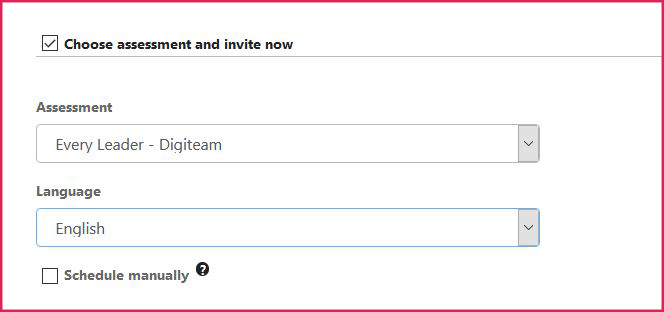
- For participants, choose the assessment and language.
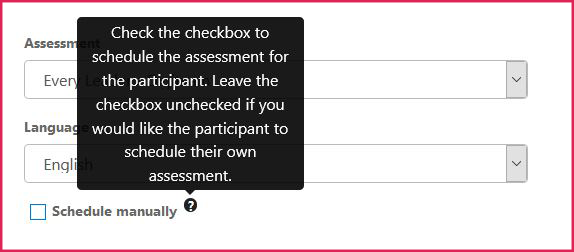
- For participants, check the checkbox next to schedule manually to choose a time for the participant’s assessment. Leave it unchecked to allow the participant to schedule their own assessment.
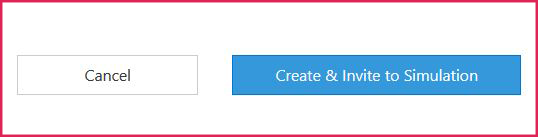
- Click the create button.
II. Invitation method: Invite user(s)
- Select the user-type from the drop-down.
- Enter the users’ email addresses in the box separated by commas.

- Select the partner/client in the drop-down boxes if available.
- Add tags (optional; participant’s only).
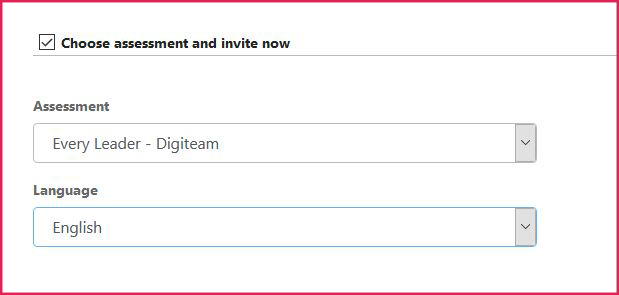
- For participants, select the assessment and language.
- Inviting participants this way prompts the participant to schedule their own assessment. If you want to schedule the assessment for the participant, use the Add manually invitation method.
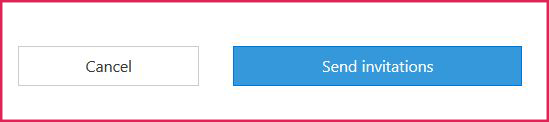
- Click the send invitation button.
- Each user requires a unique email in the platform. If any of the user emails are already taken in the platform, you will receive an error message on the next page indicating which emails already exist.